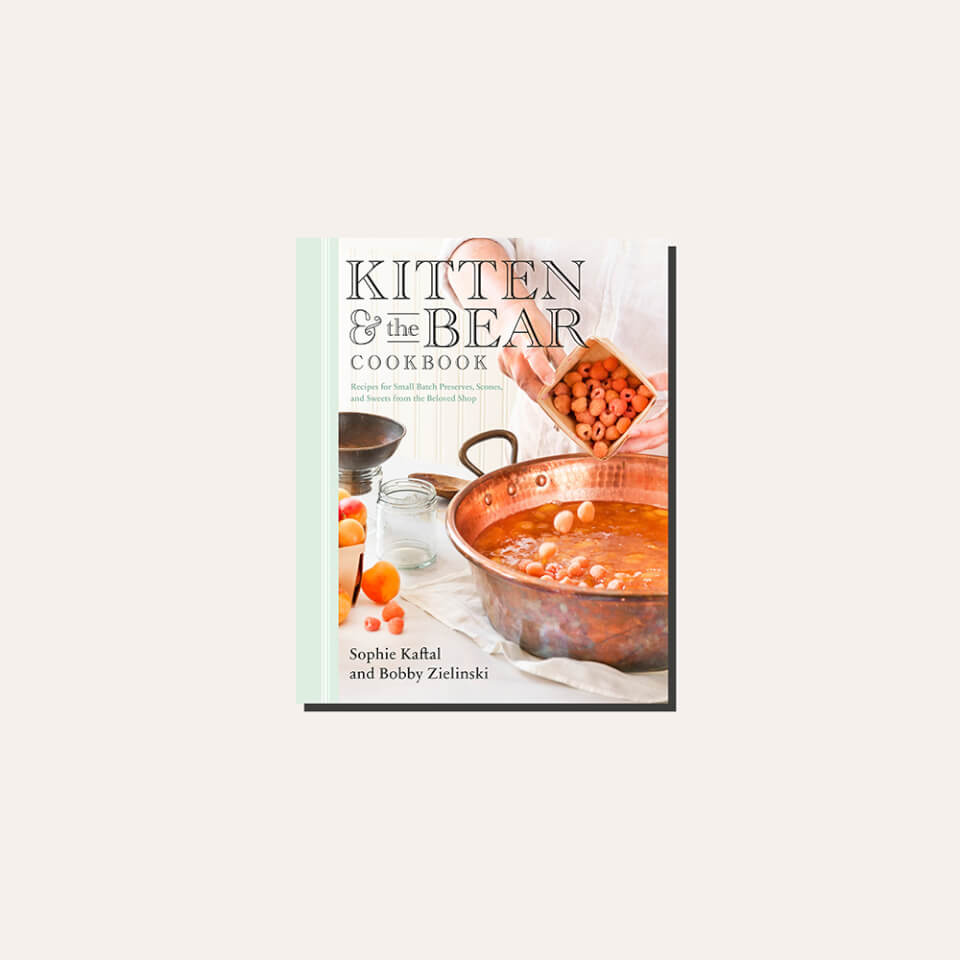
Toronto’s Kitten and the Bear tearoom is a local favourite for fruity preserves (like their Lemon Cream Marmalade) and signature baked goods, like these fluffy buttermilk scones. “We started Kitten and the Bear committed to jam making and preserving, but when we opened our first shop, we needed the perfect canvas to showcase our spreads,” explain Sophie Kaftal and Bobby Zielinkski in Kitten and the Bear Cookbook: Recipes for Small Batch Preserves, Scones, and Sweets from the Beloved Shop. “Scones were a traditional choice, and over the years they have taken on a life of their own. Now, our scones are as much a part of the world of Kitten and the Bear as our jams. Multiple recipe tweaks, from ingredient proportions to methodology, have given our scones a unique character all their own – layered and flaky like a biscuit, yet fluffy and soft inside, with that beautiful creamy bite from cultured buttermilk and lots (and lots) of butter.”
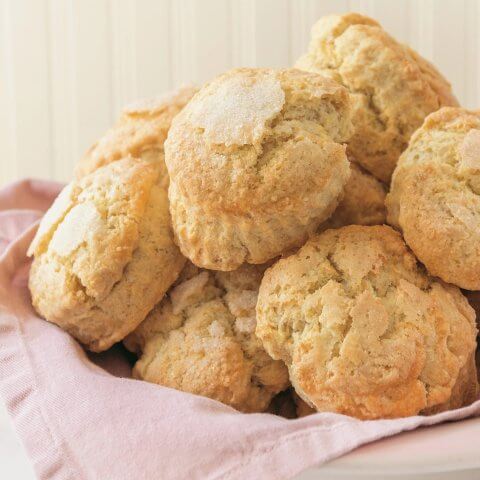
Kitten and the Bear's Signature Buttermilk Scones
Ingredients
Scones
- 3¾ cups + 1 tbsp all-purpose flour
- 3 tbsp granulated sugar plus more for garnish
- 4½ tsp baking powder
- 1 ½ tsp baking soda
- ½ tsp Diamond Crystal kosher salt
- 340 g (¾ lb) cold unsalted butter cut into cubes
- 1½ cups buttermilk
Egg Wash
- 1 egg
- 1 tbsp water
For serving
- clotted cream
- your favourite preserve
Instructions
- In a large bowl, whisk together the flour, sugar, baking powder, baking soda and salt to combine. Drop in the butter and rub into the flour mixture by rolling each cube of butter between your thumb and index finger until mostly incorporated, about 7 minutes. It will have a fine, fluffy texture but should hold together when squeezed. (Alternatively, you can use a stand mixer fitted with the paddle attachment and mix on low speed for 5 to 10 minutes. Scrape the flour mixture into a large bowl.)
- Create a well in the centre of the flour mixture. Pour the buttermilk into the well and stir quickly with a fork until a shaggy dough forms, 30 to 60 seconds. The buttermilk should be fully incorporated, and there may still be some dry, crumbly bits in the bottom of the bowl.
- Dust a work surface generously with flour. Stack the shaggy dough, a handful at a time, onto the work surface to form a layered mound. On the final handful, press the dough into any dry mix in the bottom of the bowl to push as much as possible into the dough. Press down on the dough with your hands to shape it into a rough 10-inch circle, about 1¼ inches thick. (The circle doesn’t have to be perfect.) Cut the dough in half, and then place one half top side down on the other half. Press down on the dough again to form it into an 11 to 12-inch circle, about ¾ inches thick. (The stacking and cutting process will create layers within the scones.)
- Use a 2½-inch round cookie cutter to punch out rounds, cutting them as close together as possible to maximize the yield. Gather the scraps and press them together (don’t knead or reroll) and punch out more rounds. Transfer the scones to a container in a single layer and chill in the freezer for 4 hours. If you plan to bake the scones later, allow them to freeze, and store them in a resealable plastic bag or airtight container in the freezer for up to 1 month. Bake from frozen.
- Preheat the oven to 325°F (160°C). Line a baking sheet with parchment paper.
- Remove the scones from the freezer and arrange on the lined baking sheet 2 to 3 inches apart. In a small bowl, whisk together the egg and water. Using a pastry brush, brush the tops of the scones evenly with the egg wash. Sprinkle with sugar for a sweet, crunchy top. Bake for 35 minutes, or until golden brown, rotating the pan after 25 minutes. Remove from the oven and transfer the scones to a wire rack. Let cool until warm but not piping hot, 5 to 10 minutes.
- Enjoy warm or at room temperature with clotted cream and your favourite preserve. Store the scones in a vented plastic container at room temperature for up to 2 days.
