When is pie season? Any season, of course! Whether it’s the height of summer with fresh berries and peaches, the crisp sweet apples of fall, the gooey pecans and pumpkins of winter, or the quiches and tarts of spring,
What Makes a Pie Crust Flaky?
Cold fat is key to a flaky pie crust. As the pastry bakes, small pieces of fat in the dough create the layers that give the crust its flaky texture. Keeping the ingredients cold also slows gluten development, helping prevent the pastry from becoming tough.a good pastry is always in style. Here are 10 simple steps for making a perfect pie crust.
1. Understand the Difference Between Flaky and Mealy Pie Dough
Before you get mixing, determine what type of dough your recipe calls for.
- Flaky pie dough is gently mixed by hand, with the visible bits of fat creating layers during baking. The fat is rubbed or cut into the flour until the particles are pea sized. The liquid is then added and absorbed by the flour and when rolled out, the lumps of fat create the “flakes.”
- Mealy pie dough is mixed more thoroughly, and works best for juicy or custard fillings to avoid sogginess. For some recipes, the dough is mixed even to the paste stage (think food processor dough). By coating the flour thoroughly with fat, the crust is less able to absorb moisture,
2. Choose the Right Fat for Pie Crust
Butter brings great flavour but can be harder to work with due to its lower plasticity. Shortening is easier to handle and delivers excellent flakiness. Many bakers swear by a 50/50 mix of butter and shortening for the best of both worlds. But, as people have moved away from trans-fats, there has been a shift toward all butter pastries.
The downside of shortening is it’s often lacking in flavour. Butter will yield a tasty crust but is often tougher to work into the flour because its water content keeps it firmer.
3. Use Unsalted Butter
Unsalted butter gives you full control over the seasoning and delivers a fresher, slightly sweeter flavour. Salt is a tenderizer so small amounts are added to pie dough, however it’s preferable to add salt as a separate ingredient, to better control the amount. If you must use salted butter, reduce how much salt is added in the remainder of your recipe. For a fool-proof, all-butter pie dough base recipe, try Anna Olson’s Classic Pie Dough Recipe.
4. Keep Your Pie Ingredients Cold
Warm ingredients activate gluten too quickly, leading to tough pastry. Chill your flour, fats and even mixing bowls if needed. Cold dough is the secret to flaky layers. Mixing pastry is a balance between developing just enough gluten to create a stable dough, but not so much that it will be tough. Gluten develops slower at cooler temperatures, so it’s a good idea to make sure all your ingredients are cold when you begin mixing.
5. Let Your Pie Dough Rest
Chilling the dough gives it time to relax and become more elastic, making it easier to roll. After mixing, refrigerate your dough for at least 30 minutes (ideally an hour). This relaxes the gluten and makes the dough easier to roll and shape.
6. Soften Cold Pie Dough Before Rolling
Don’t wait for cold dough to warm up naturally. Instead, take a tip from French bakers who use their rolling pin as a tool for softening cold butter. Use your rolling pin to gently tap the wrapped dough into a flatter disk. This softens the fat and makes the dough pliable without warming it too much.
7. Use an Egg Wash For a Golden Pie Crust
An egg wash gives your pie crust a golden, glossy finish. Make it easier to apply by adding ¼ tsp salt and letting it rest for 5 minutes before brushing. For extra browning, mix in a splash of cream for more caramelization.
8. Use Flour Sparingly When Rolling Pie Dough
While excess flour can toughen your crust, preventing sticking is key. Lightly flour your work surface, rolling pin and dough surface – but don’t go overboard. Lift and rotate the dough as you roll to avoid sticking.
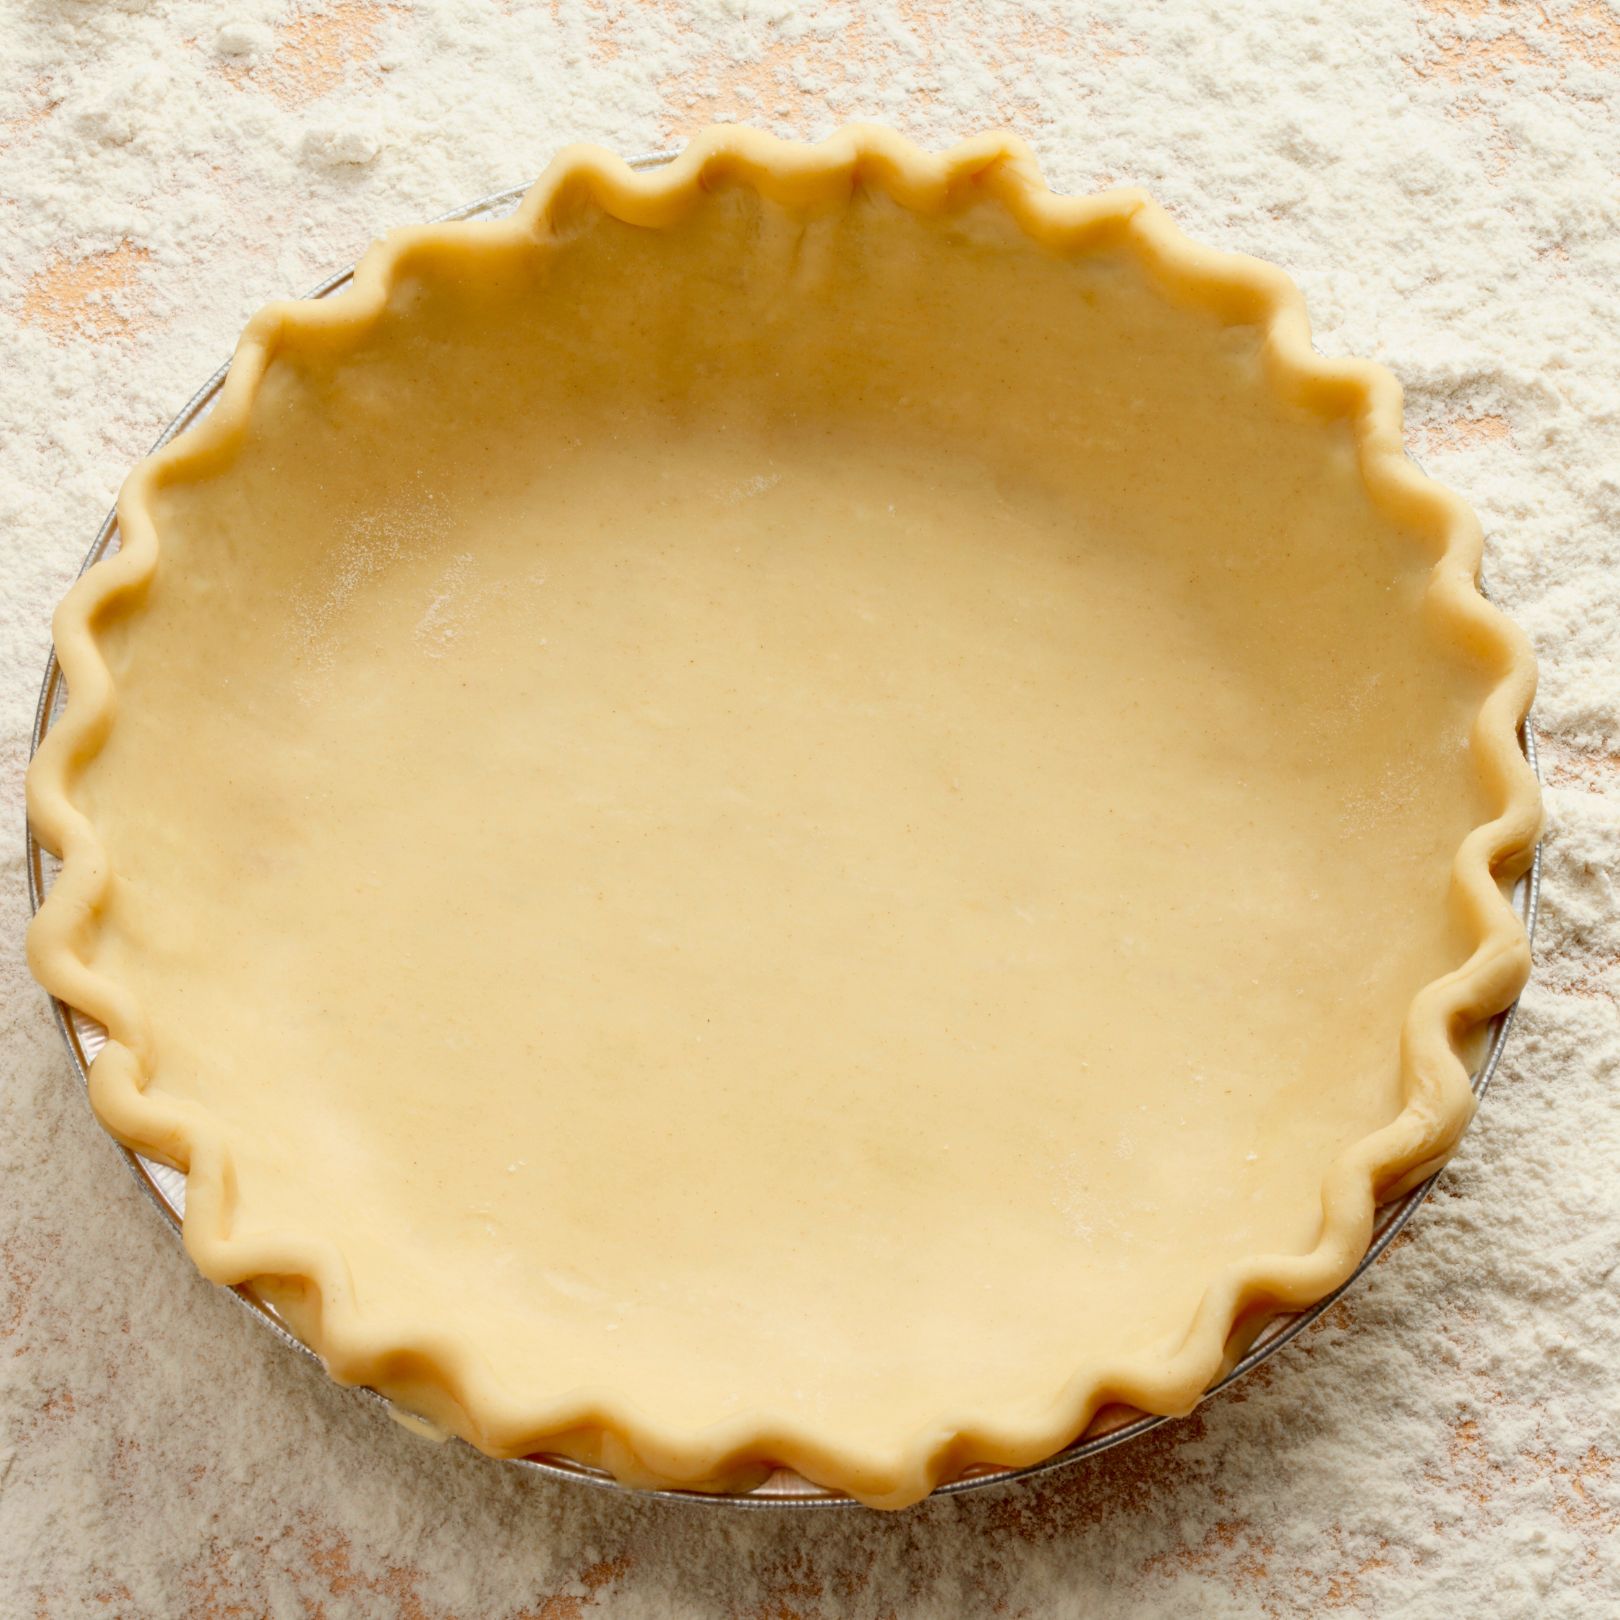
9. Leave Enough Dough for Crimping the Crust
When lining your pie plate, resist trimming the edges too early. Leave a generous overhang for sealing and decorative crimping, especially if you’re adding a top crust.
10. Start Your Pie at a High Heat
Whether you are blind baking a tart shell or baking a filled pie, start your pie at a high temperature – between 400°F and 450°F. This sets the crust quickly and prevents the dreaded soggy bottom. If baking delicate fillings, reduce heat partway through as directed.
How to Get Better at Making Pie Pastry
Pie pastry gets easier with experience. Start with simple single-crust recipes and work your way up to lattice tops or double crusts. Don’t worry if your first crust isn’t picture-perfect – the flavour will win them over.
Pie, Tart and Quiche Recipes to Try

Anna Olson's Classic Pie Dough
Start with Anna Olson’s popular all-butter pie dough recipe, a reliable base for everything from fruit pies to savoury tarts and quiches.
Get RecipePut Your Pie-Crust Skills to Work

Saskatoon Berry Pie
Put your pie-crust skills to work with a classic Canadian fruit pie filled with juicy Saskatoon berries.
Get Recipe
Garlicky Rapini and Provolone Galette
This savoury galette pairs a flaky, free-form pastry crust with garlicky rapini and cheese.
Get Recipe
Caprese Quiche With Mozzarella, Asiago and Cherry Tomatoes
A buttery pastry crust holds a summery filling of tomatoes, basil and Asiago in this savoury quiche.iche.
Get Recipe
Pumpkin Meringue Pie
A crisp pastry crust is filled with creamy pumpkin custard and topped with a dramatic layer of fluffy meringue.
Get Recipe