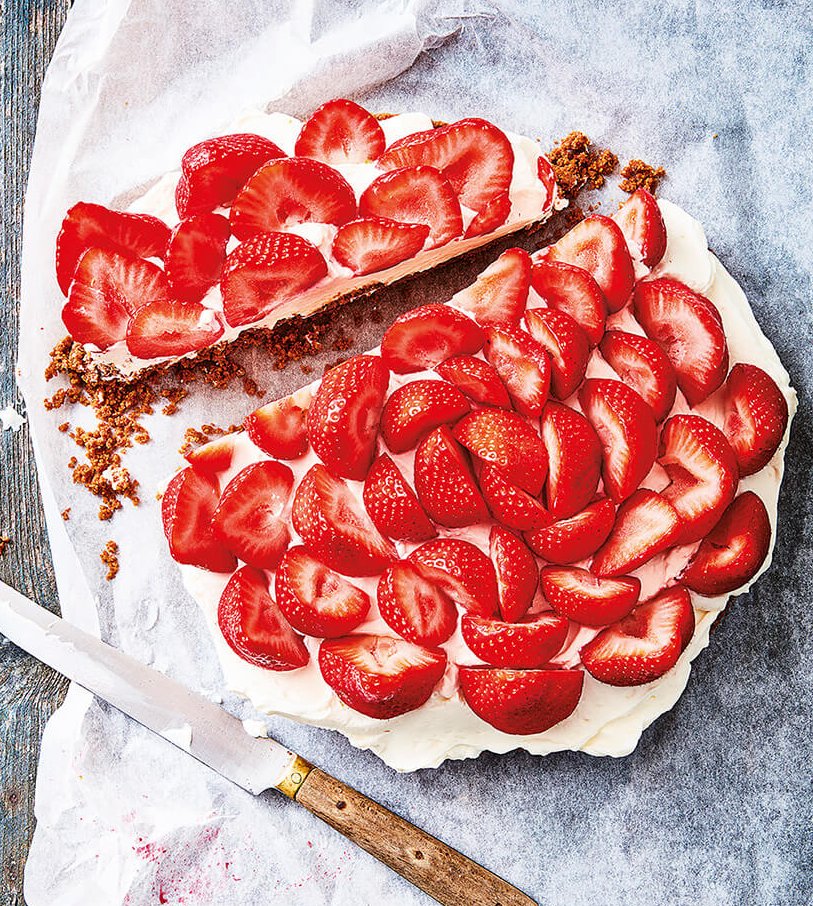
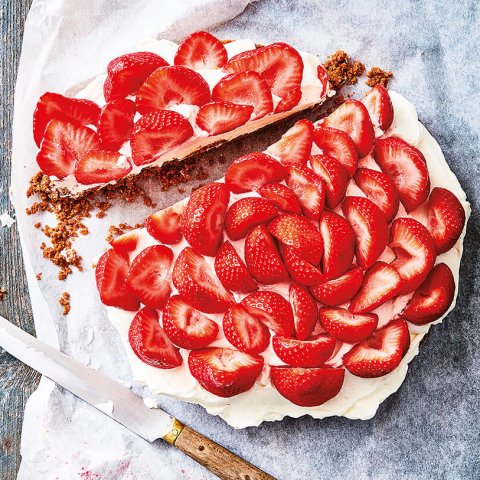
Homemade preserves are a specialty of Kitten and the Bear tearoom in Toronto, Ont., and they’re available in unique flavours like Lemon Cream Marmalade. Their most popular flavour is Strawberry, Raspberry & Cream jam, and co-founders Sophie Kaftal and Bobby Zielinski share the recipe in their Kitten and the Bear cookbook.
“This elegant, dessert-like preserve is full of red berry sweetness and decadent creaminess. Whole, plump strawberries and a sprinkle of raspberries are blended with balanced notes of vanilla for a transparent, creamy linger. For our most beloved flavour, the trick is using flavourful, fresh berries and choosing a sweetly scented vanilla that appeals to your personal palate.”
What vanilla is the best for cooking?
“From whole Madagascar bean to high-quality flavouring, there are many types of vanilla to choose from, and each has its own unique profile. Though it may seem like culinary sacrilege, we opt for a naturally derived vanilla flavouring in our kitchen for this recipe to achieve that rich, vanilla-cake-like nuance. Vanilla, birthday cake and whipped-cream-flavoured vodkas also make great choices and are readily accessible.”

Kitten and the Bear's Strawberry, Raspberry and Cream Jam
Ingredients
- 1.25 kg strawberries hulled
- 250 g raspberries
- 5 cups (1 kg) granulated sugar
- ½ cup lemon juice
- 1 tbsp natural vanilla flavouring see note
Instructions
- Combine the strawberries, raspberries, sugar and lemon juice in a large non-reactive container, and toss gently to evenly coat. Cover with a lid and macerate in the fridge overnight for at least 12 hours but no more than 24.
- The next day, make the jam. Sterilize your jars and lids (see note below).
- Remove the macerated fruit from the fridge. Scrape the fruit mixture and all the juices into your preserving pan. Bring to a boil over high heat, stirring constantly, until the juices run from the berries and the sugar is dissolved. Once it boils, the mixture will begin to foam. Adjust the heat as needed to keep it as hot as possible without allowing the mixture to overflow or sputter. Continue to cook, stirring constantly and scraping the bottom of the pan to distribute the heat evenly and melt the foam back down into the mixture, about 5 minutes.
- Once the foam subsides, boil over high heat (adjust the heat if the jam sputters) for another 10 to 15 minutes, stirring frequently. As the jam cooks, gradually reduce the heat to medium-low if needed to prevent scorching, and stir constantly until it becomes thicker, slightly syrupy, and the bubbles are smaller and evenly distributed across the surface. Remove from the heat and skim any foam from the surface.
- Gently stir to evenly distribute the fruit within the syrup, and then test for doneness. The jam should pass the wrinkle test or sheet test and reach at least 200°F (100°C) on a candy thermometer. If the jam still seems too loose, boil for another 3 to 5 minutes and check the set again. Once set, remove from the heat. Immediately add the vanilla and stir vigorously to incorporate.
- Pour the jam into the sterilized jars, leaving ¼ inch of headspace, and process (see below). Arrange the hot jars about 1 inch apart in a cool place, and let sit undisturbed for at least 12 hours.
Notes
Canning basics from the team behind the Kitten and the Bear
Two ways to sterilize jars for canning
1. Sterilize jars in water bath
- To sanitize the jars, lids, and rings, begin by bringing a large, wide pot of water to a boil. The water level will rise significantly once the jars are submerged, so make sure the pot has high enough walls to accommodate the size of jar you are using. If you have hard or mineralized water where you live (for example, you find a white powdery film in your tea kettle), we recommend using bottles of distilled water to keep your jars crystal clear.
- Once the water is at a rolling boil, submerge your jars using canning tongs, allowing water to fill each jar as you place it. Then, add the lids and rings. Boil for 10 minutes (adjusting for altitude).
- Remove the jars, lids and rings from the boiling water using canning tongs. Be careful when you lift the jars, as they will be filled with boiling water – pour this water back out into the pot. Place all of your materials upright on a clean kitchen towel and allow any residual water to evaporate.
2. Sterilize jars in oven
- As an alternative to water bath canning, you may also sterilize your jars in the oven. This is our preferred method, as removing the boiled empty jars from the water bath can be cumbersome and dangerous.
- To oven sterilize, simply preheat your oven to 250°F (120°C). Arrange your jars, lids, and rings on a clean baking sheet, and place in the oven for a minimum of 30 minutes, or until your jam is ready to can.
- Once your jam is finished cooking, remove the tray from the oven and allow the jars to rest and cool for a minute or two. Then, proceed with filling the warm jars with jam.
How to cap jars
- To ensure a good seal, the rims of the jars must be perfectly clean and free of any jam or stickiness. Dampen a new piece of paper towel with warm water and run a clean finger around each jar rim. If you encounter any jam, wipe it away with the paper towel. Give it a minute or two to dry before capping – it will evaporate quickly since the jar will be warm.
- To cap a mason jar, place the flat cap on the top of the jar. Then, screw the ring on top until finger tight. There is no need to use an undue amount of strength, as mason jars are specially designed for this purpose. Simply tighten as you would any condiment jar during ordinary use.
How to process jars
- For this step, a water bath is necessary. However, it is safer and much less cumbersome once the jars are full of preserves. Simply bring a large pot of water to a boil, and submerge your full jars of jam using canning tongs. Boil at a simmer for 10 minutes (adjusting for altitude), ensuring the water is not sputtering or making your jars bounce around the bottom uncontrollably. Remove the jars from the water carefully, again using tongs, and place on a clean kitchen towel.
More recipes from Kitten and the Bear
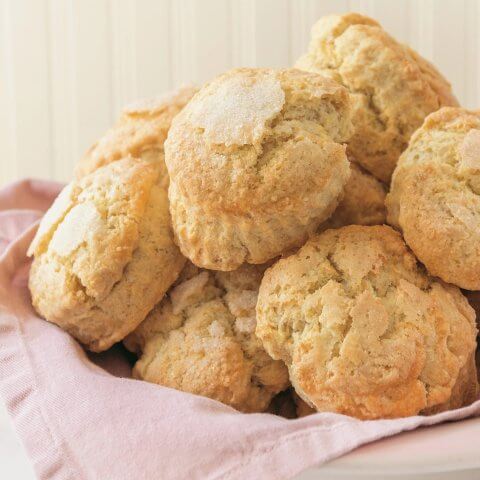
Kitten and the Bear in Toronto shares the recipe for their signature buttermilk scones.
Get the recipe
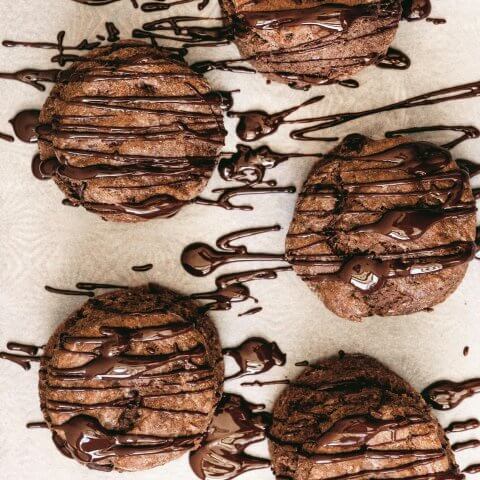
The Toronto bakery and tearoom shares their recipe for fudgy scones with extra chocolate chips and a chocolate drizzle.
Get the recipe
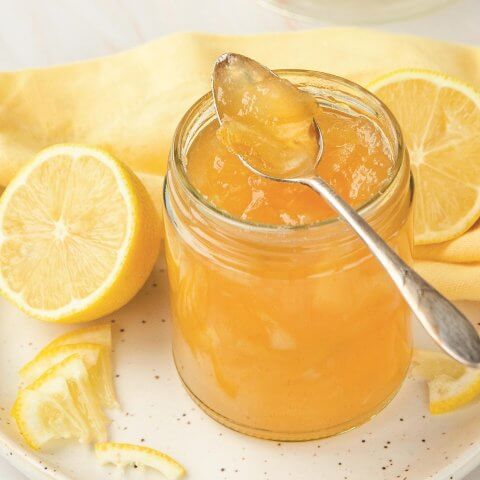
A recipe for sweet and creamy lemon marmalade from Kitten and the Bear tearoom in Toronto.
Get the recipe
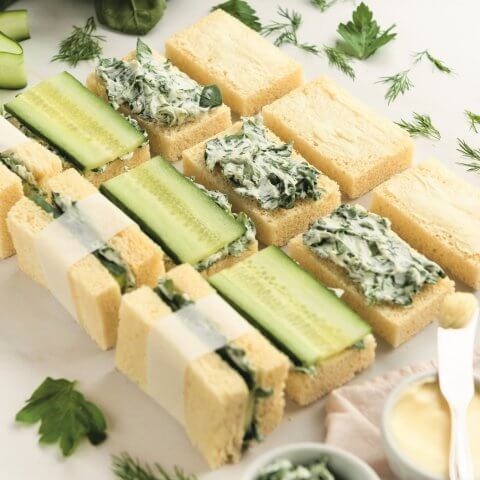
Toronto tearoom Kitten and the Bear shares their recipe for classic cucumber tea sandwiches with a creamy spinach spread.
Get the recipe
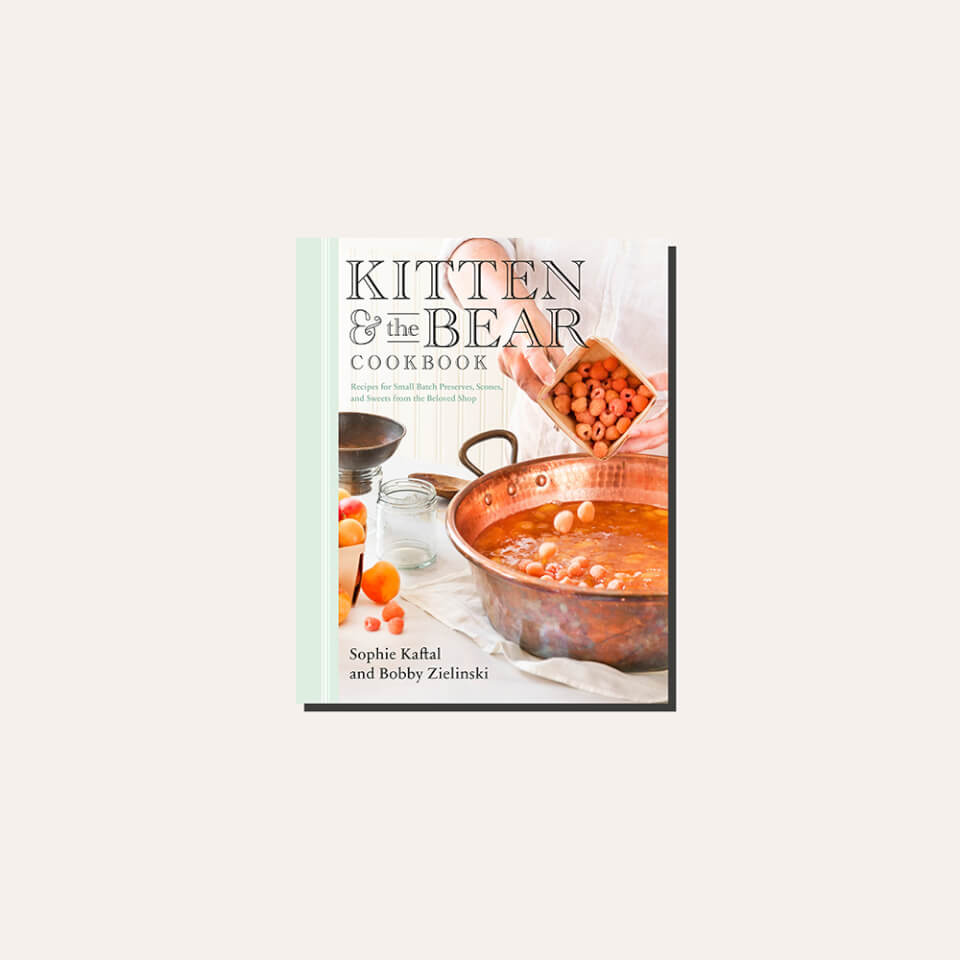
Excerpted from Kitten and the Bear, Inc. Copyright © 2024 Kitten and the Bear, Inc. Photography by Johanna Martin. Published by Penguin, an imprint of Penguin Canada, a division of Penguin Random House Canada Limited. Reproduced by arrangement with the Publisher. All rights reserved.